You've invested in world-class electronics, painstakingly selected speakers, and sourced cables that cost more than most people's televisions. Yet something still feels off. The sound is technically correct but emotionally flat, the imaging blurred, the bass a muddy mess. The culprit is almost never the gear. It's the room. Acoustic treatments often cost more than the equipment itself, and setup is every bit as crucial as what you plug in. This guide walks you through every vital step in designing a luxury audio room that performs at the highest level, from choosing the right space and planning acoustics to selecting premium furniture that works as hard as it looks.
Table of Contents
- Key requirements and planning for premium audio spaces
- Laying the foundation: Layout, geometry, and soundproofing
- Luxury acoustic treatments using premium furniture
- Fine-tuning, measurements, and continuous optimization
- Why room treatment is the true luxury—beyond gear upgrades
- Elevate your audio space with HiFi Rack
- Frequently asked questions
Key Takeaways
| Point | Details |
|---|---|
| Room selection matters most | Choosing the right dimensions and avoiding square shapes is fundamental for premium audio results. |
| Treatments trump gear upgrades | Investing in bass traps, absorbers, and diffusers has more impact than new speakers or amps. |
| Luxury and function combine | Premium furniture like custom racks and acoustically transparent seating enhance both sound and aesthetics. |
| Measure and adjust continually | Regular measurement and small adjustments deliver verifiable improvements even after setup. |
Key requirements and planning for premium audio spaces
The physical room is your most important component. Full stop. You can swap amplifiers and DACs endlessly, but if the room is working against you, no piece of gear will fix it. Understanding this early saves enormous frustration and money. The hi-fidelity principles that define true high-end listening always start with the environment, not the electronics.
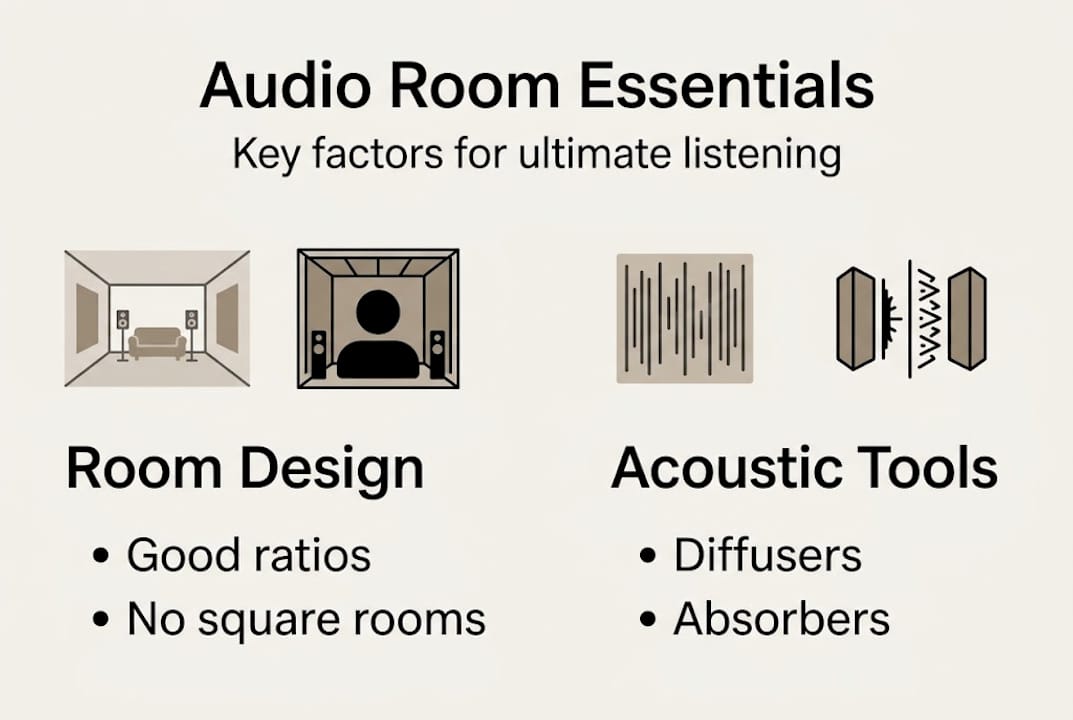
Room dimensions matter enormously. Square rooms and perfect cubes are the enemy of accurate bass reproduction because their equal dimensions stack room modes (resonant frequencies) on top of each other, creating severe peaks and nulls. Optimal room dimensions follow golden ratio variants such as 1:1.6:2.33, which spread modes more evenly across the frequency spectrum. A target footprint of 400 to 500 square feet gives you the volume needed for proper bass extension and a convincing soundstage.
Here's a quick comparison of room dimension approaches:
| Dimension type | Example (ft) | Modal behavior | Suitability |
|---|---|---|---|
| Square/cubic | 15 x 15 x 10 | Severe stacking | Avoid |
| Near-golden ratio | 14 x 22 x 9 | Well distributed | Excellent |
| Random/irregular | 13 x 19 x 8.5 | Mixed | Acceptable |
Before you break ground or start moving furniture, consult acoustic experts and use room modeling tools like ROCS to simulate how your chosen dimensions will behave. Budget planning must be realistic. Treatments in a medium-sized dedicated room routinely run $50,000 or more, often exceeding the cost of the audio system itself.
Essentials to secure before starting:
- A dedicated room with controllable dimensions and minimal HVAC noise
- Professional acoustic consultation and room simulation
- Realistic budget covering construction, treatment, and furniture
- Quality building materials: dense drywall, resilient channels, solid-core doors
- A clear vision for how the room will be used (2-channel, home theater, or both)
Pro Tip: Don't finalize room dimensions before running them through a room mode calculator. A few inches of adjustment can dramatically reduce bass problems before you spend a single dollar on treatment.
Laying the foundation: Layout, geometry, and soundproofing
With the right room selected and essentials secured, the next step is arranging it for ideal audio performance. Layout and geometry are where many audiophiles make costly mistakes, usually by guessing rather than following proven principles.
Symmetrical layout is non-negotiable for accurate stereo imaging. Your left and right speaker positions must mirror each other perfectly relative to the side walls, and the listening position should sit at roughly 30 to 33 percent of the room's depth from the front wall. Placing the listener at the exact center of the room creates a bass null (a frequency cancellation point) that no amount of DSP will fully correct.
Here's a comparison of common layout errors versus best practice:
| Setup choice | Effect on sound | Recommendation |
|---|---|---|
| Listener at room center | Severe bass null | Move forward to 30-33% depth |
| Asymmetric speaker placement | Collapsed imaging | Mirror positions precisely |
| Speakers flush to front wall | Bass bloom, smeared detail | Pull out at least 2-3 feet |
| No side-wall treatment | Flutter echo | Add absorption at first reflection |
Soundproofing is a separate discipline from acoustic treatment, and confusing the two is a common and expensive mistake. Soundproofing keeps sound in or out. Acoustic treatment shapes sound within the room. For a truly isolated listening environment, consider:
- Floating floors decoupled from the building structure
- Double-leaf wall construction with an air gap
- Solid-core, sealed doors with acoustic gaskets
- Laminated or double-pane windows if natural light is required
- Isolated HVAC with flexible duct connections
For listening room setup refinement, start with speaker placement and listening position before adding any treatment. Get the geometry right first, then layer in acoustic solutions. Trying to treat a poorly arranged room is like tuning a car that's pointed in the wrong direction.
Pro Tip: Use painter's tape to mark speaker and listening positions on the floor during initial setup. Live with each configuration for at least a week before making permanent changes. Your ears need time to calibrate.
Luxury acoustic treatments using premium furniture
With your layout set, it's time to transform the sound and look of your space using high-end treatments and furniture. This is where acoustic science and interior design converge, and where the best rooms truly separate themselves from the average.
Acoustic treatment falls into three categories: absorption, diffusion, and bass trapping. Each plays a specific role. Absorption reduces reflections and tames high-frequency energy. Diffusion scatters sound to maintain room liveliness without harshness. Bass traps address low-frequency buildup in corners. A premium room uses all three in carefully calculated proportions.
Key treatment elements for a luxury audio space:
- Custom fabric-wrapped absorber panels at first reflection points (side walls, ceiling)
- Diffuser panels on the rear wall to maintain room energy without flutter echo
- Corner bass traps floor to ceiling for maximum low-frequency control
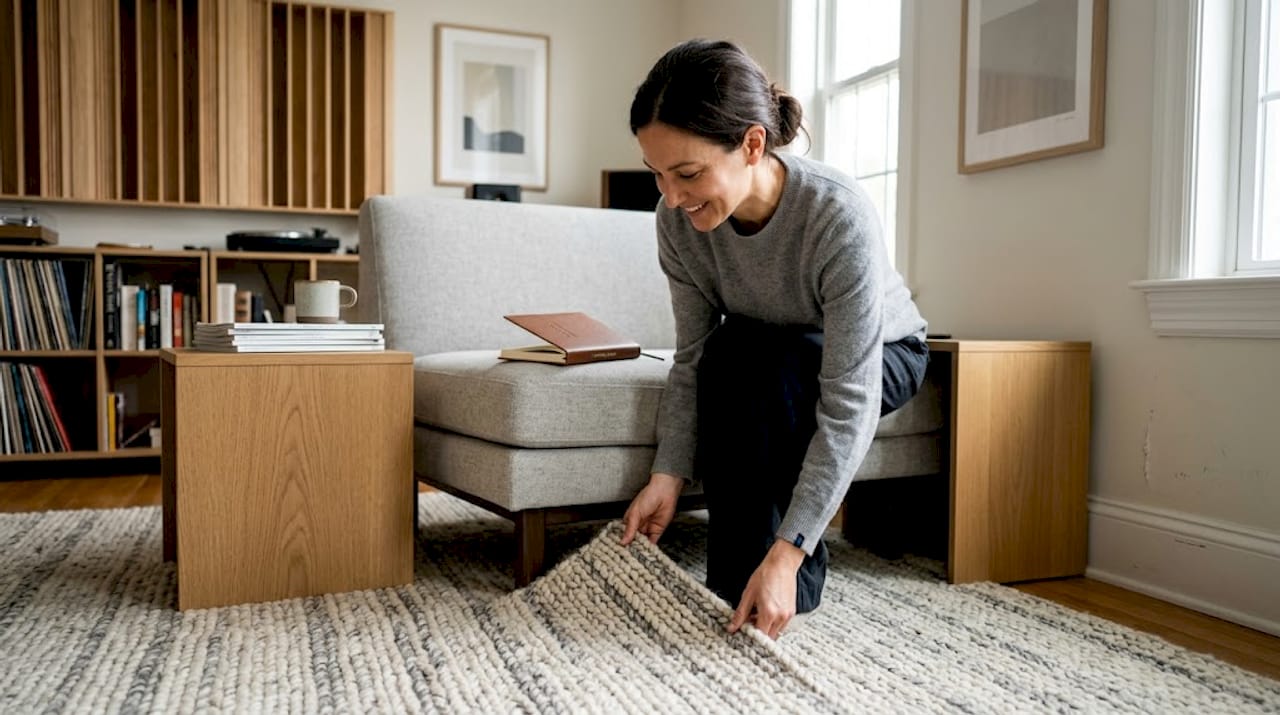
- Thick wool or silk rugs over hardwood floors to manage floor reflections
- Wood and leather wall panels that serve double duty as decor and diffusion
"Custom absorber and diffuser panels from brands like Vicoustic, acoustically transparent seating, and wood or leather finishes are the hallmarks of rooms that blend function with aesthetics at the highest level."
The VicPattern Ultra Beat XL from Vicoustic carries an NRC (Noise Reduction Coefficient) rating of 0.75, meaning it absorbs 75 percent of incident sound energy. That's a meaningful number in a room where every reflection matters. Choosing panels with verified NRC or αw ratings removes guesswork from the process.
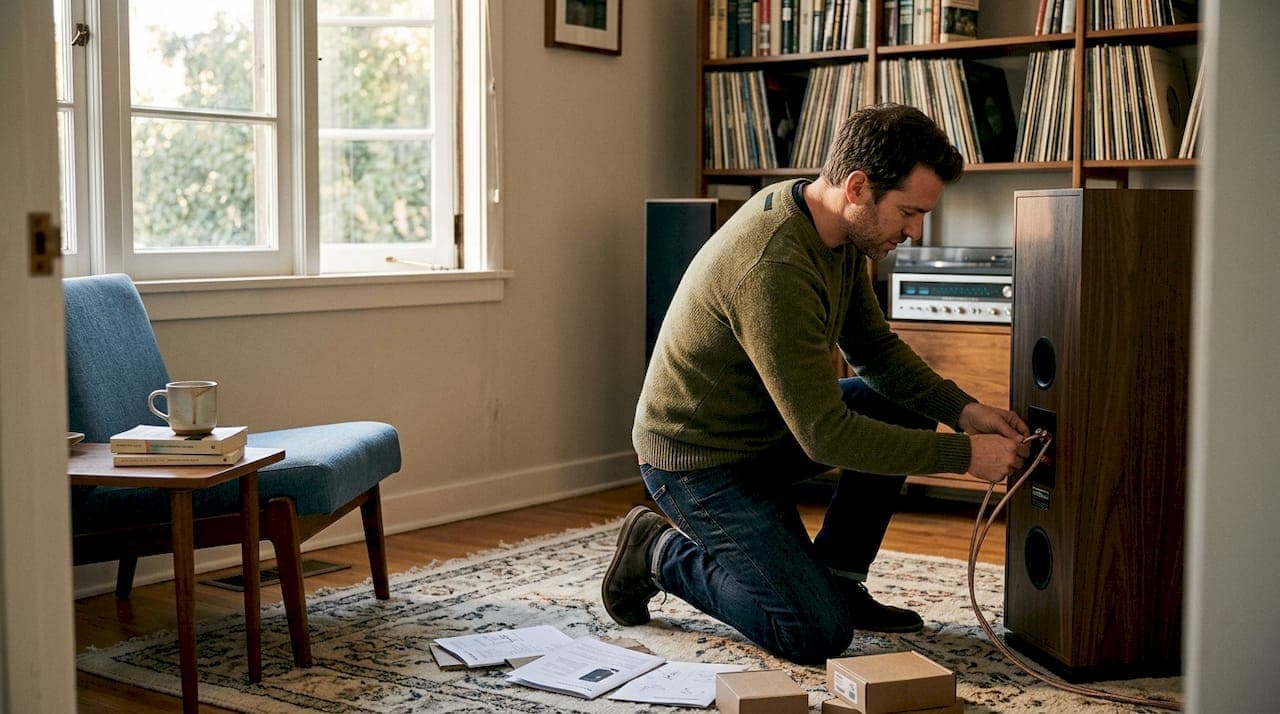
Furniture is not decoration in a listening room. It is an acoustic tool. Low-back, acoustically transparent seating allows sound to pass through rather than reflect back toward the listener. Solid hardwood furniture like our premium racks adds natural diffusion through surface variation and mass. Visit our design inspiration gallery to see how these principles translate into real rooms.
Pro Tip: Diffusion often outperforms absorption in rooms that feel too dead. If your treated space sounds lifeless or closed-in, swap some absorbers for diffusers on the rear wall before adding more absorption.
Fine-tuning, measurements, and continuous optimization
Once treatment is installed, it's crucial to verify your results and adjust to reach true audio excellence. Listening impressions are valuable, but objective measurements tell you what's actually happening in the room.
Start with these measurement priorities:
- RT60 decay time: target 0.2 to 0.4 seconds for a dedicated 2-channel room
- Frequency response at the listening position: look for smooth response from 100Hz to 3kHz
- Bass null mapping: identify problem frequencies before choosing treatment solutions
- Waterfall plots: reveal decay problems that steady-state measurements miss
- Impulse response: shows early reflections that damage imaging and clarity
Real-world results from properly treated rooms are dramatic. Post-treatment benchmarks show RT60 reduced from 1 second to 0.25 seconds, bass nulls improved by up to 25dB, and frequency response smoothed significantly across the 100Hz to 3kHz range. These are not incremental gains. They are transformative.
| Metric | Before treatment | After treatment | Improvement |
|---|---|---|---|
| RT60 (decay time) | ~1.0 sec | ~0.25 sec | 75% reduction |
| Bass null depth | Up to 30dB | ~5dB | 25dB improvement |
| Frequency response | ±15dB swings | ±3dB | Dramatically smoother |
DSP (Digital Signal Processing) is a powerful tool, but it is polish, not a foundation. Physical treatment must come first. DSP cannot fix a bass null caused by room geometry. It can only reduce its audibility. Use DSP after treatment to address residual issues, not as a substitute for proper acoustic work. Review rack optimization tips for additional insights on how furniture placement factors into this process.
For last-mile optimization, a professional acoustic consultant reviewing your measurement data can identify issues that are invisible to the untrained eye. Don't hesitate to ask an expert when you've hit a plateau. And check case study data from GIK Acoustics to see how real rooms have been transformed through systematic treatment.
Pro Tip: Changing a single thick rug or adding a chair with a solid wood frame can produce measurable changes in your RT60 readings. Always re-measure after any significant furniture change.
Why room treatment is the true luxury—beyond gear upgrades
We've seen it countless times. An audiophile spends six figures on electronics, then wonders why a friend's more modest system sounds more engaging. The answer is almost always the room. Acoustic treatment delivers greater impact than swapping speakers or amplifiers, and expert consensus backs this up without reservation.
The uncomfortable truth is that most luxury audio buyers focus their energy and budget on gear because gear is tangible, shippable, and easy to compare. Room treatment is invisible, requires expertise, and doesn't photograph as well as a gleaming amplifier. But the gains are not incremental. They are transformative in a way that no component upgrade can match.
We believe that the philosophy of fidelity is ultimately about the listening experience, not the equipment list. A room designed specifically for music changes how you relate to recordings. It becomes a sanctuary, a place where the music is fully present. That psychological shift, from listening to a system to experiencing music, is the real luxury. And it starts with the room, not the rack.
Elevate your audio space with HiFi Rack
Building a premium audio space is a never-ending game, and every detail counts. Once you've experienced the impact of a truly optimized space, the right furniture and design details are the ultimate finishing touch.
At HiFi Rack, our handcrafted premium Hi-Fi racks are built from responsibly sourced hardwoods including walnut, cherry, ash, and oak, each chosen for their natural acoustic properties and visual character. Our Myro Racks & Stands combine heavy spike decoupling with solid wood mass to isolate your components and add genuine diffusion to your listening environment. Browse our gallery of custom installations to see how audiophiles around the world have used our furniture to complete rooms that perform and inspire.
Frequently asked questions
What is the ideal room size and shape for a premium audio space?
Aim for 400 to 500 square feet with golden ratio dimensions such as 1:1.6:2.33 to distribute room modes evenly. Avoid square or cubic rooms entirely, as equal dimensions stack resonant frequencies and create severe bass problems.
How much should I budget for a high-end audio space?
Budget at least $50,000 for acoustic treatments and custom furniture in a medium-sized dedicated room. This figure often exceeds the cost of the audio equipment itself, which surprises many first-time room builders.
What furniture best supports high-end acoustics?
Acoustically transparent seating with low backs, thick wool rugs, and custom wood or leather wall panels are the strongest choices. These elements manage reflections and add diffusion without sacrificing the visual quality of a luxury space.
How do I measure audio improvements in my listening room?
Use RT60 decay measurements and frequency response graphs before and after treatment to track objective improvements. Mapping bass nulls at the listening position gives you a clear target for bass trap placement and DSP correction.